Congratulations on being accepted to our VetExpress program!
Quick Tour
By now you already know the basics, but we wanted to provide you with a quick overview of the dashboard so you can take full advantage of this program.
Watch this 3 min video to learn how to use VetExpress
How to Get Paid
In order to receive payments, you will need to complete setup of StripeConnect. Once you click the button below, follow the instructions provided. Please don’t hesitate to reach out to us with any questions or concerns.

VetExpress FAQs
Learn more about each part of VetExpress here. We’re constantly updating this section, so if you have any questions or need more info on anything, let us know and we’ll provide updates on this page.
Be sure to book mark this page for future reference.
Do you have a question or need more training on a subject that isn’t covered here?
Dashboard
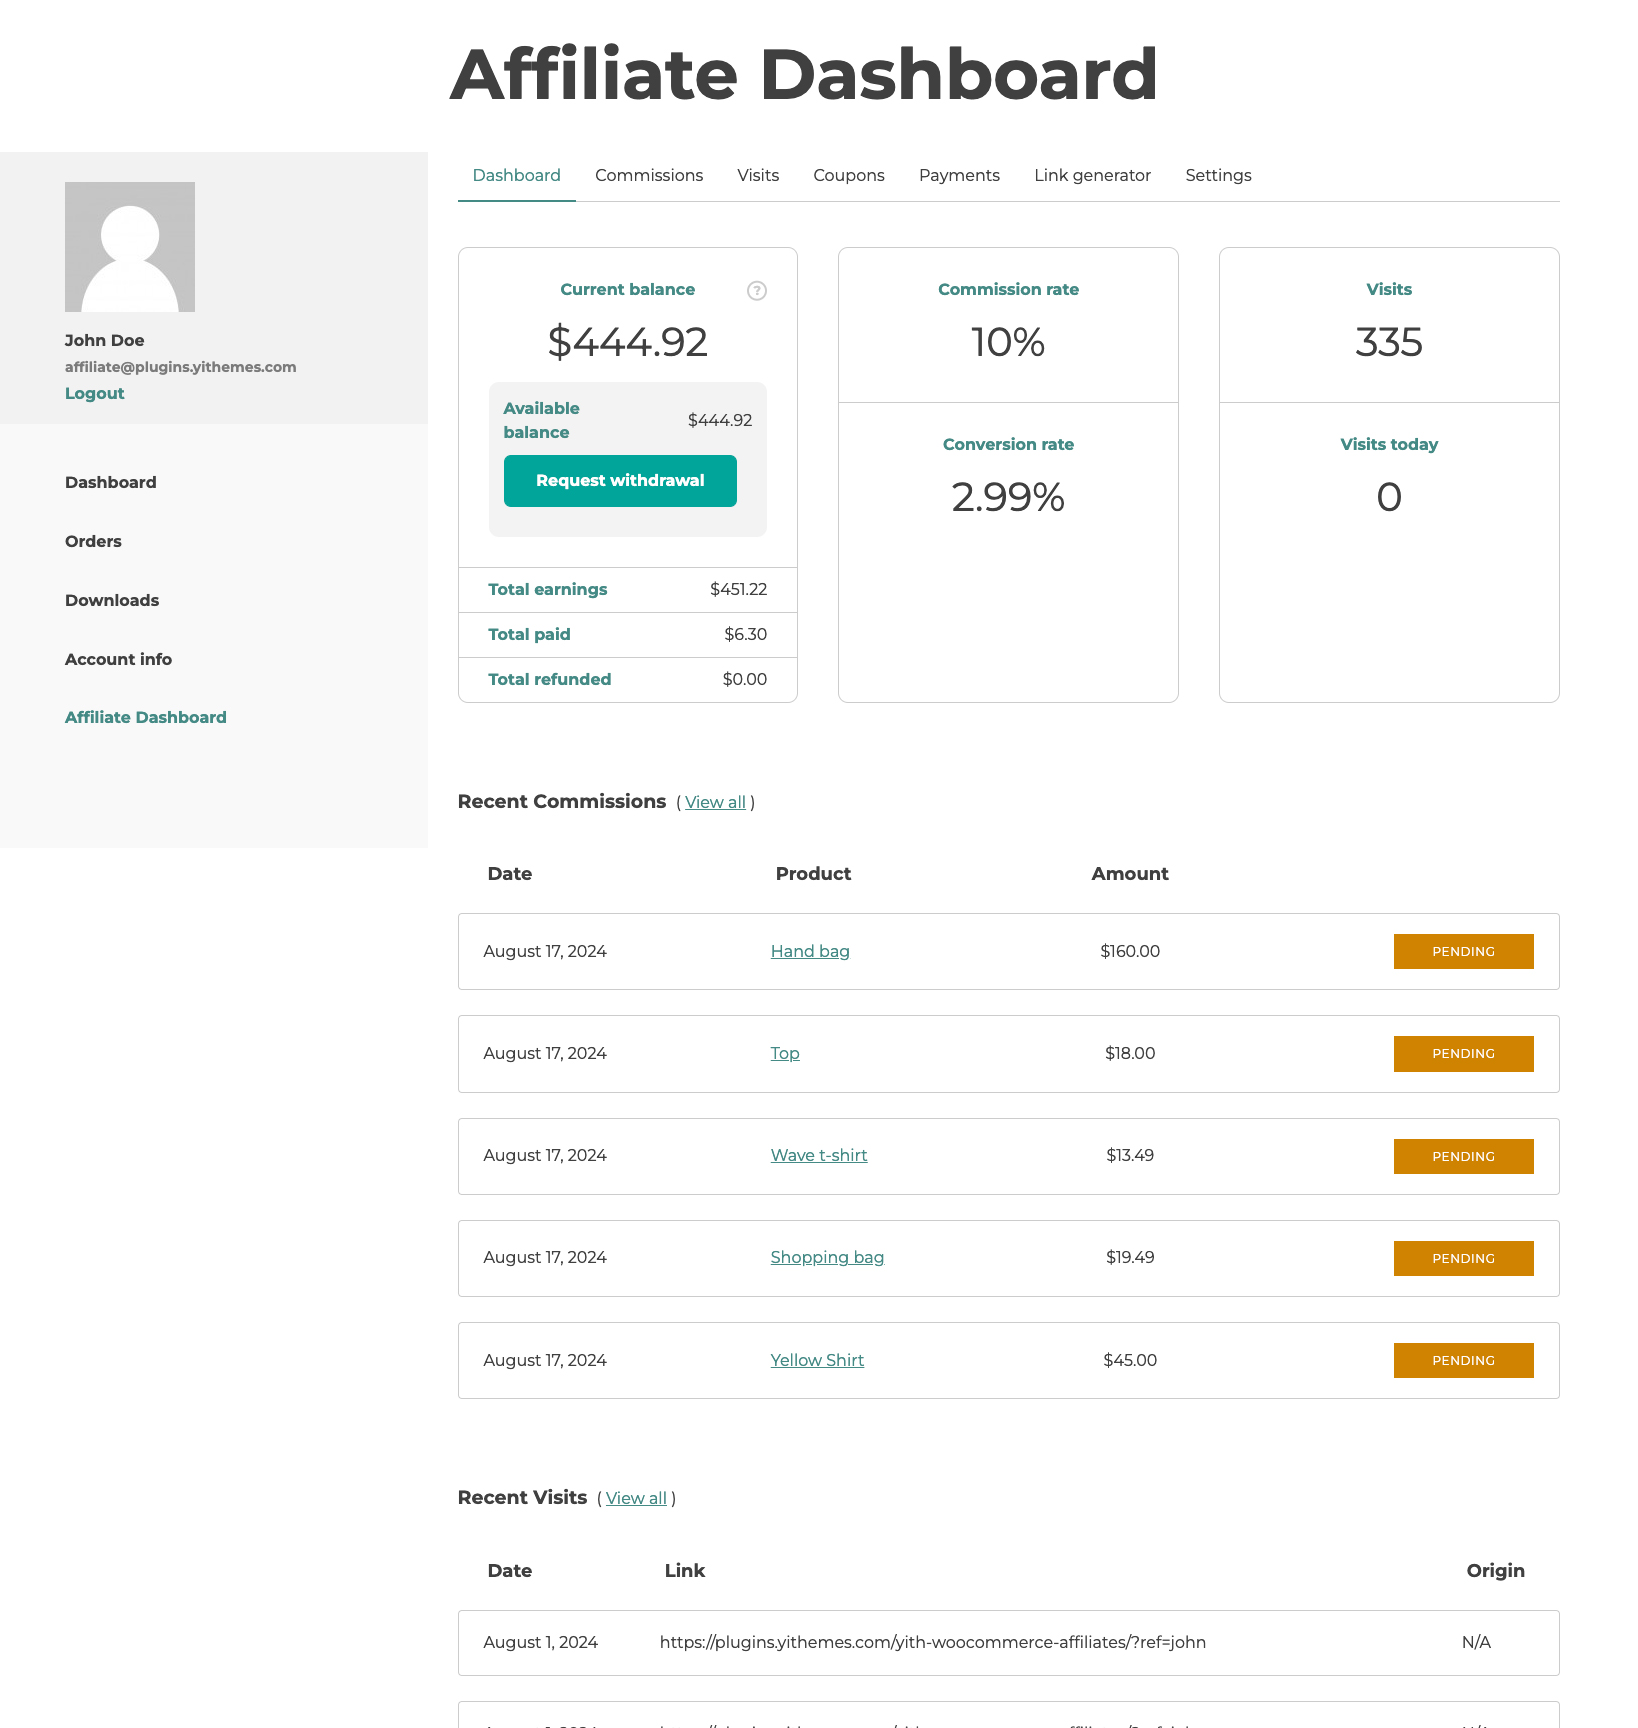
The dashboard section is the home screen with a recap of all the data of their profile, with:
- Total earnings, paid, refunded and active balance;
- Commissions rate, conversion rate and the latest commissions;
- Visits, visits today and the latest visits.
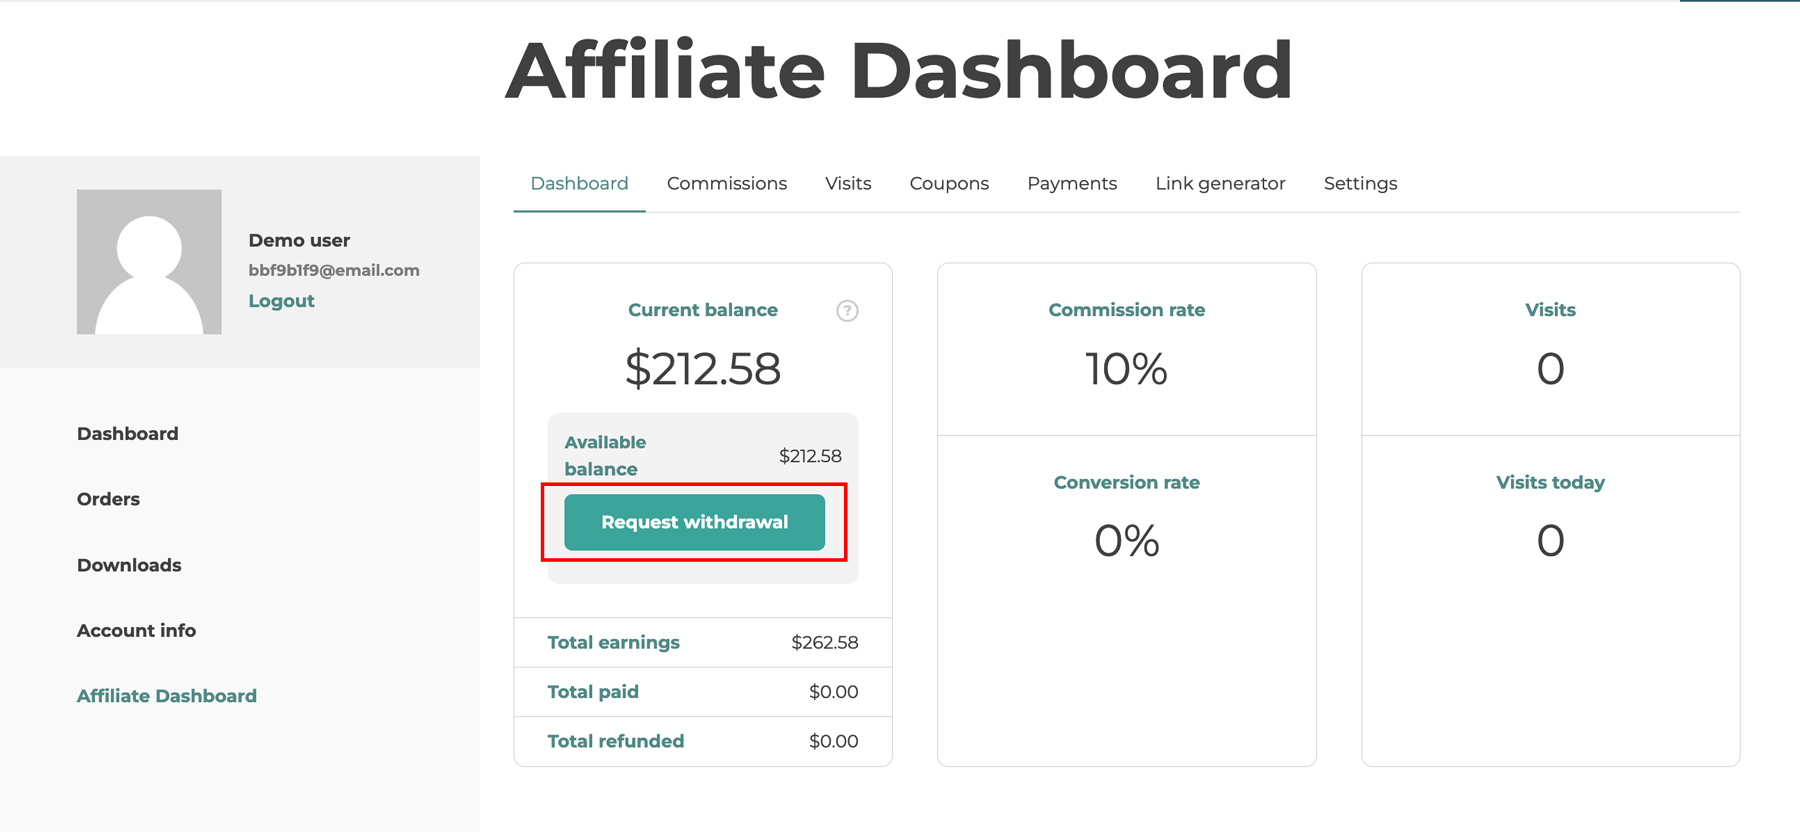
In case, you enable the option “Let users request a payment” from the payment settings, this is where they will be able to see a button to request a new payment:
Commissions
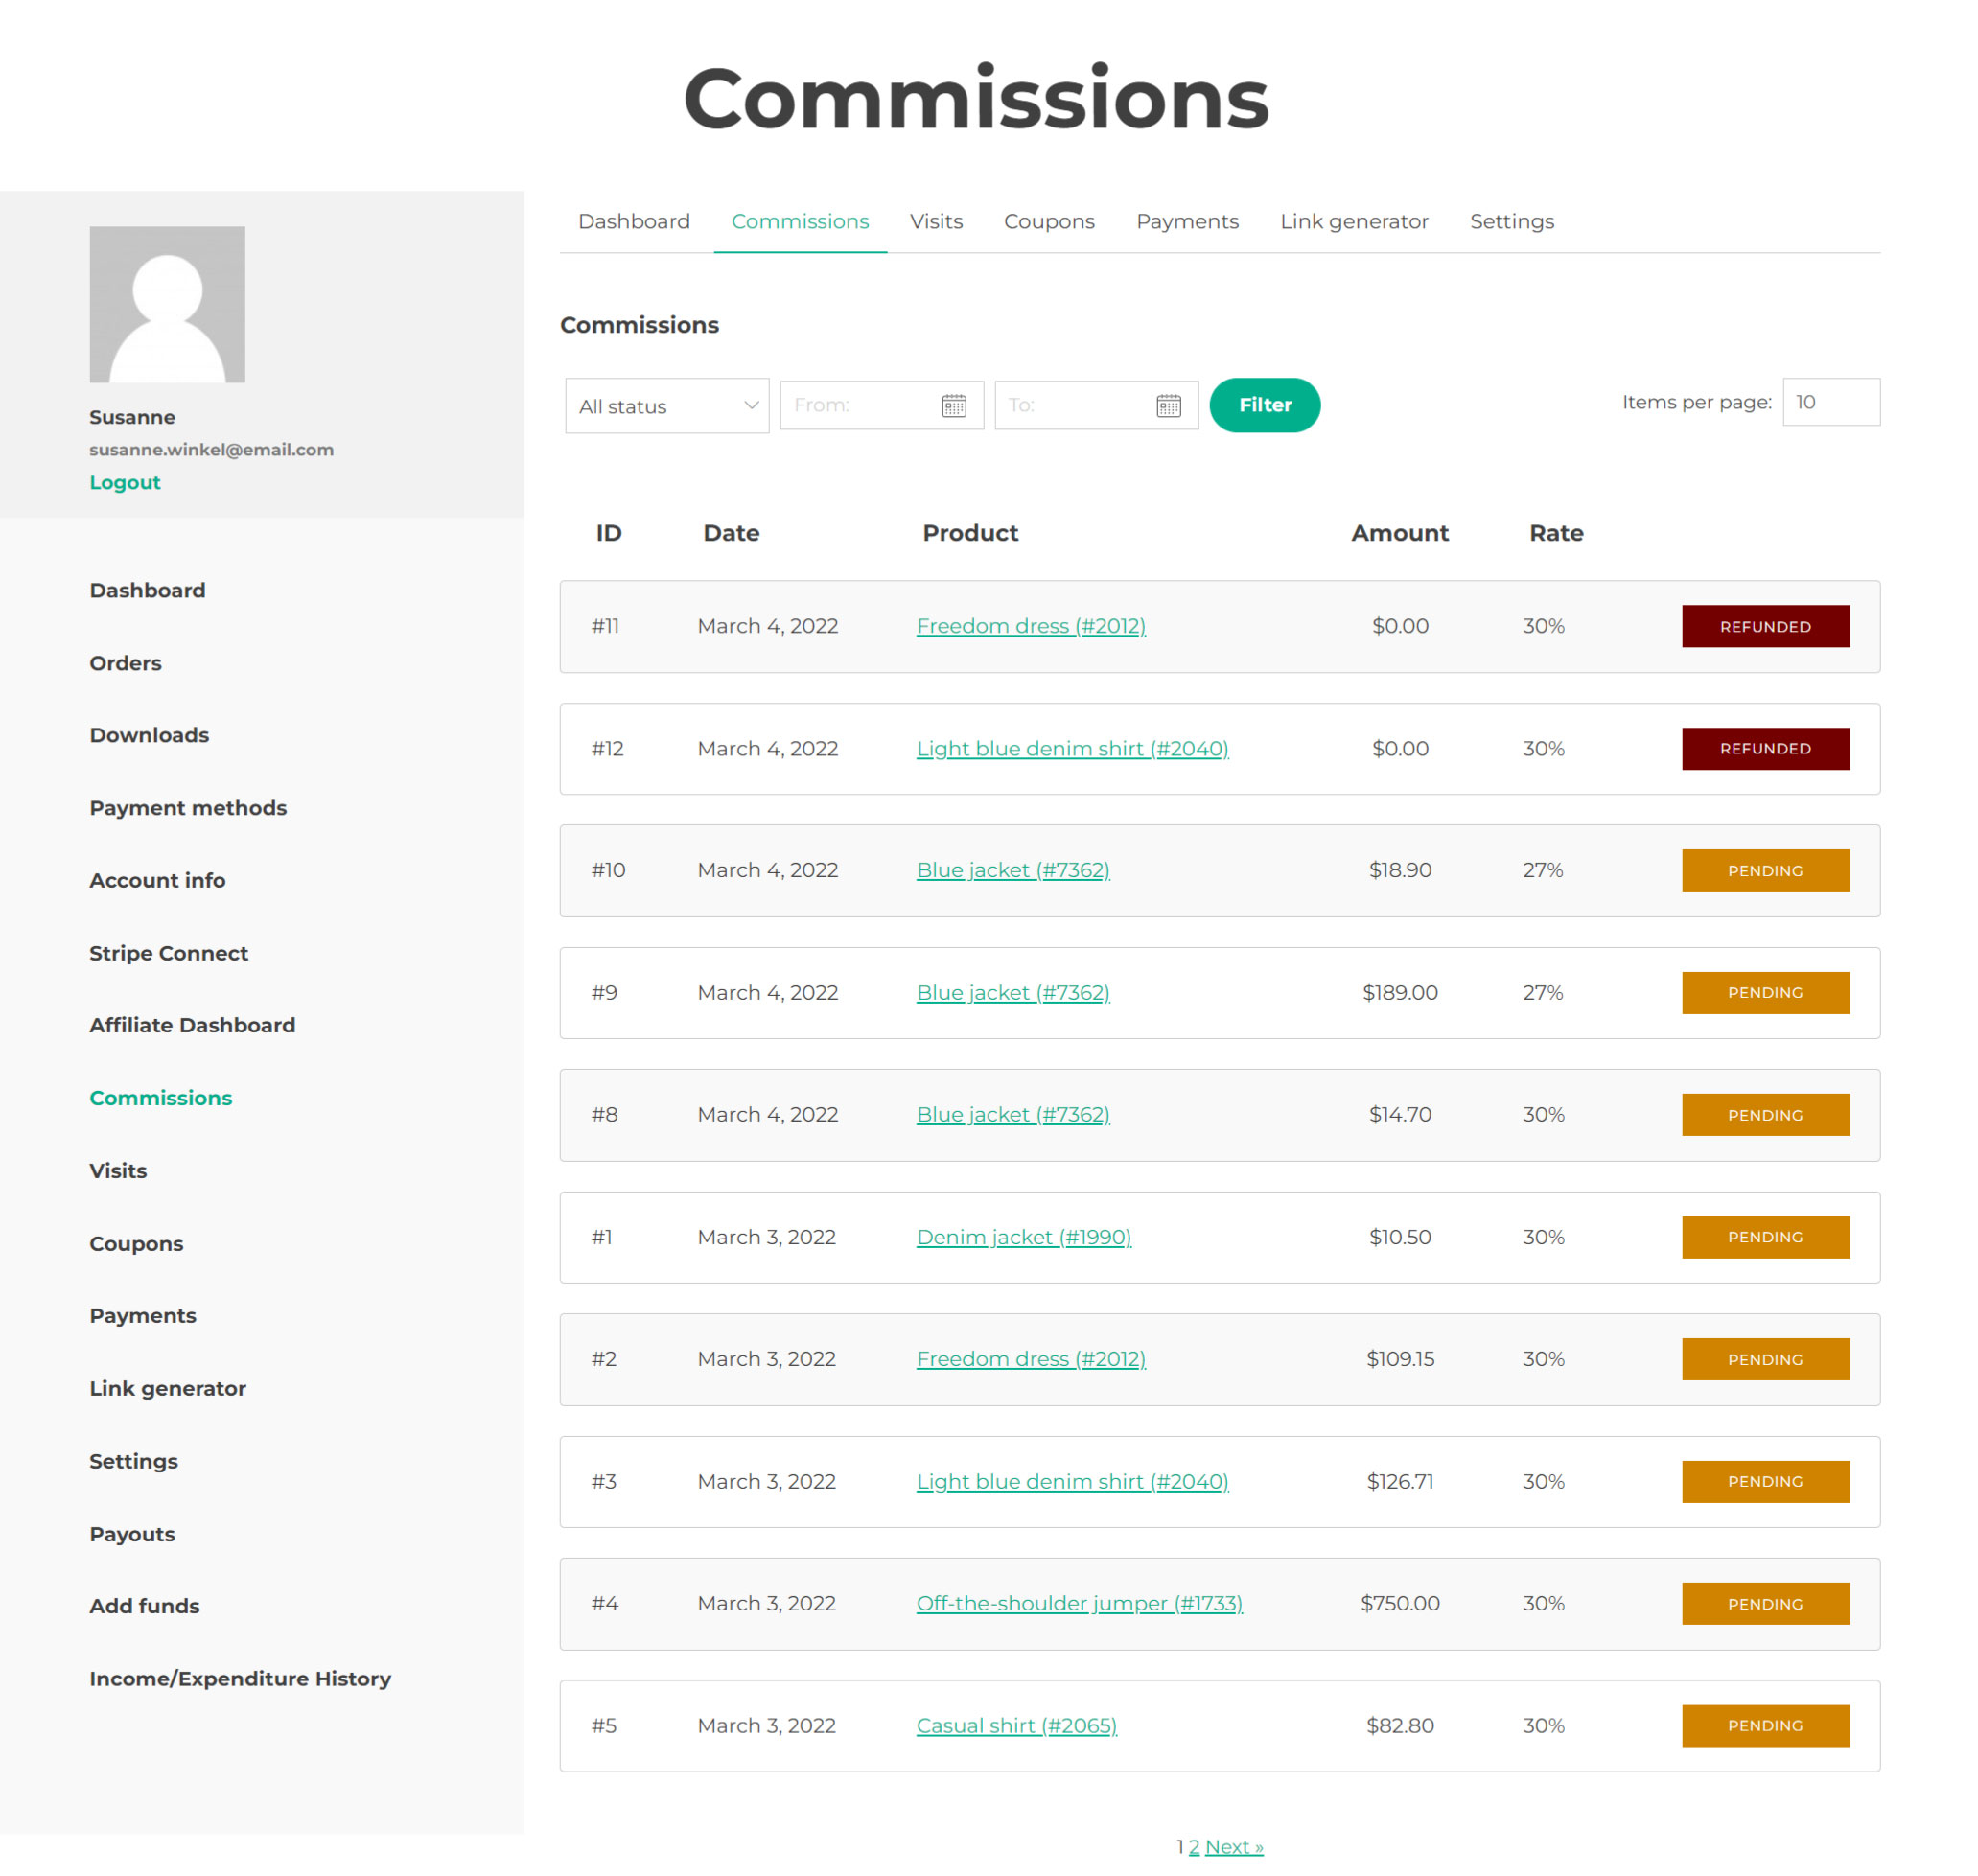
In this tab, you will see all the commissions generated with their ID, date, product and related order ID (the plugin will generate one commission for each product), amount, commission rate and commission status. For more details about the commission status, please, refer to this page.
You can also filter the commissions by status and date, and sort them by any of the titles in the column.
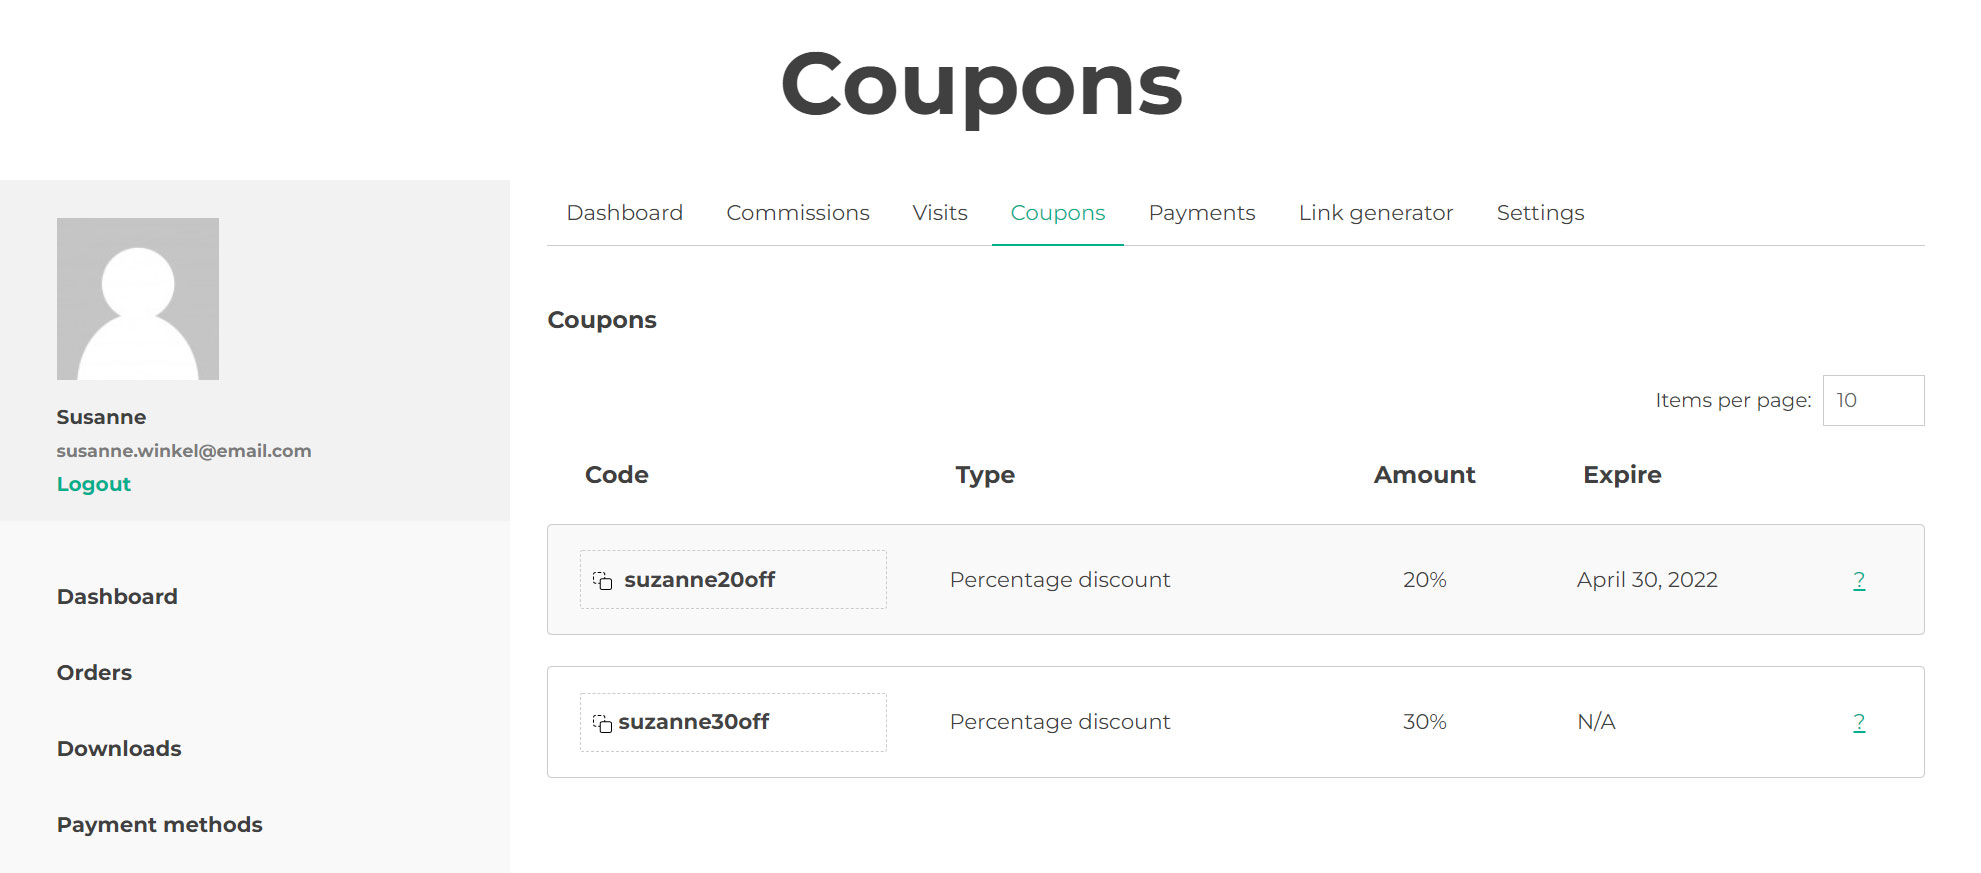
Coupons
This tab can be enabled by default for all users or make sure that it only appears if the affiliate has at least one coupon code enabled for his/her account. To change this option go to General Options > Coupon options.
By clicking on the coupon code, your affiliates can copy a link ready to be shared on their social networks, on their blog or any other tool where they choose to promote your store.
When a user visits that link, it will take the user to your site and will automatically apply the coupon code in cart.
The coupon code will grant a discount to the user and a commission to the affiliate for any order where the code is used.
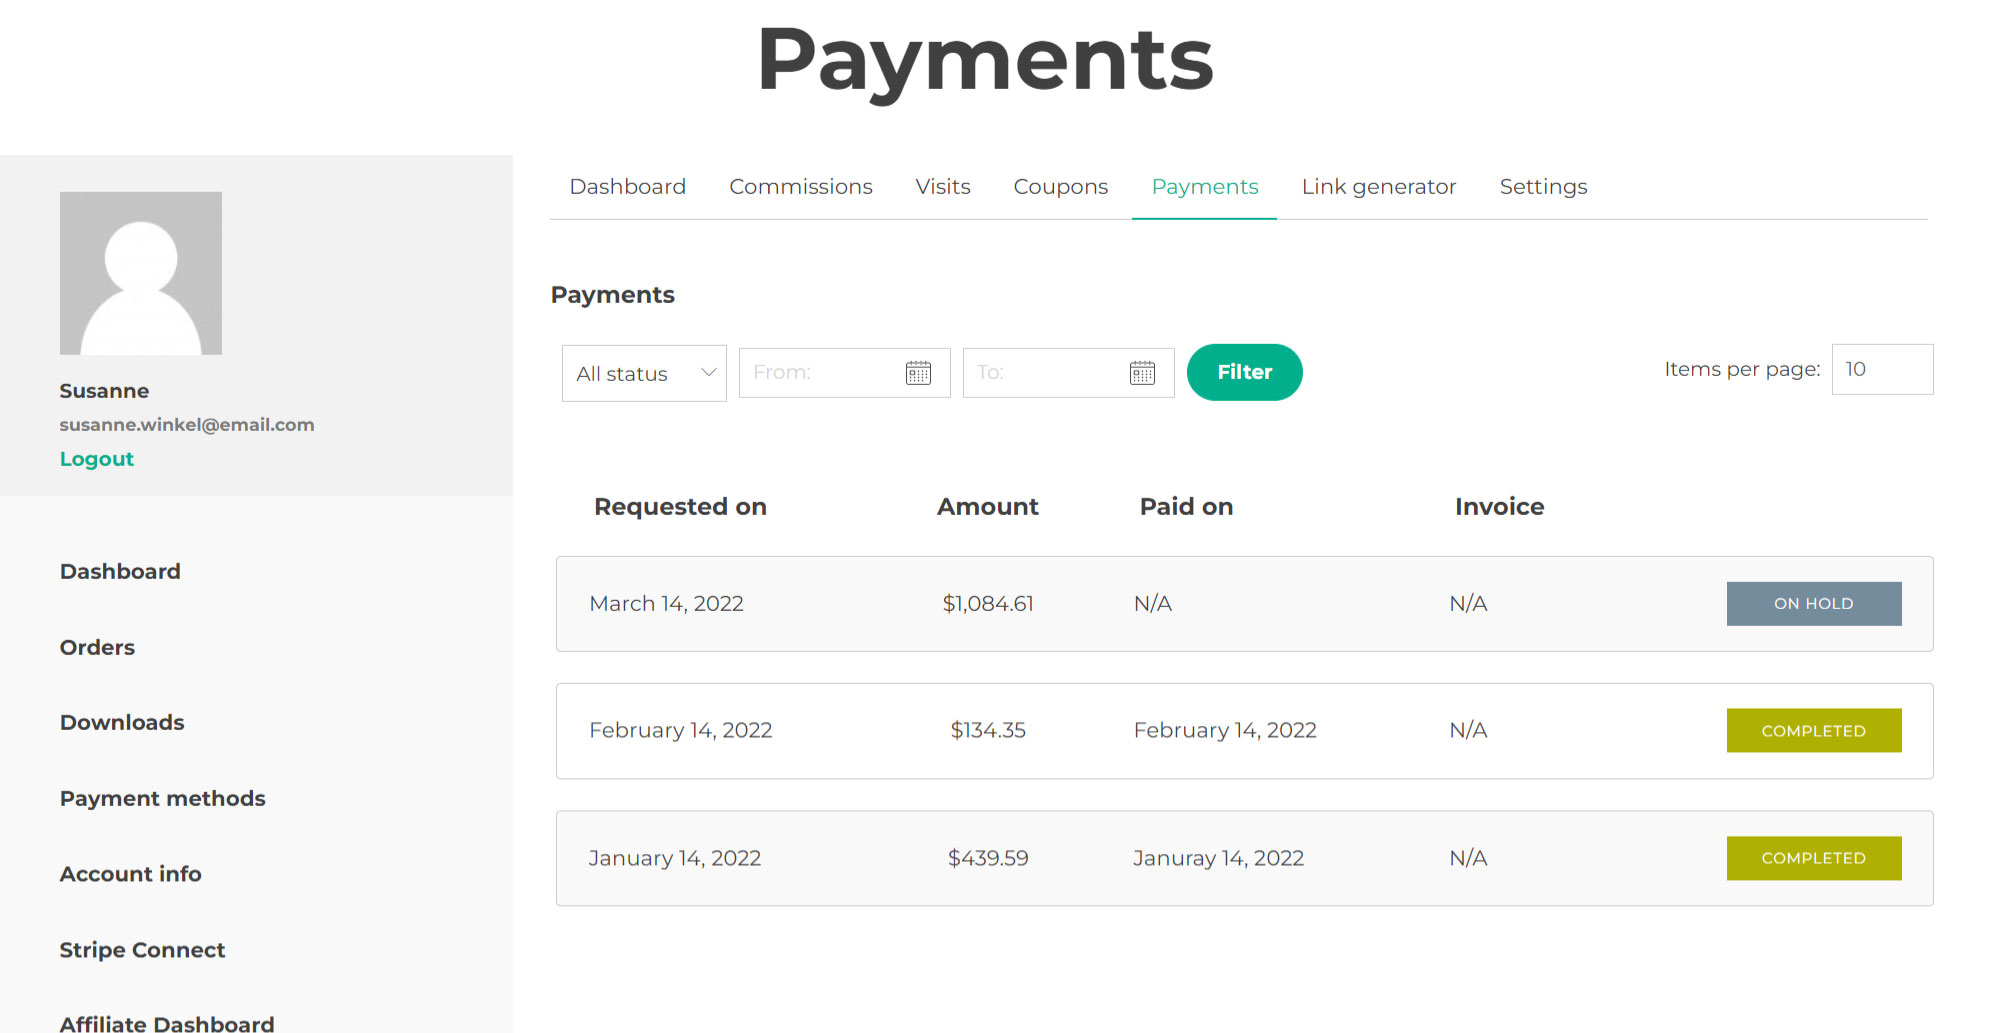
Payments
From this tab, your affiliate will see all their payment records, the date, the amount, the invoice (if available) and the status.
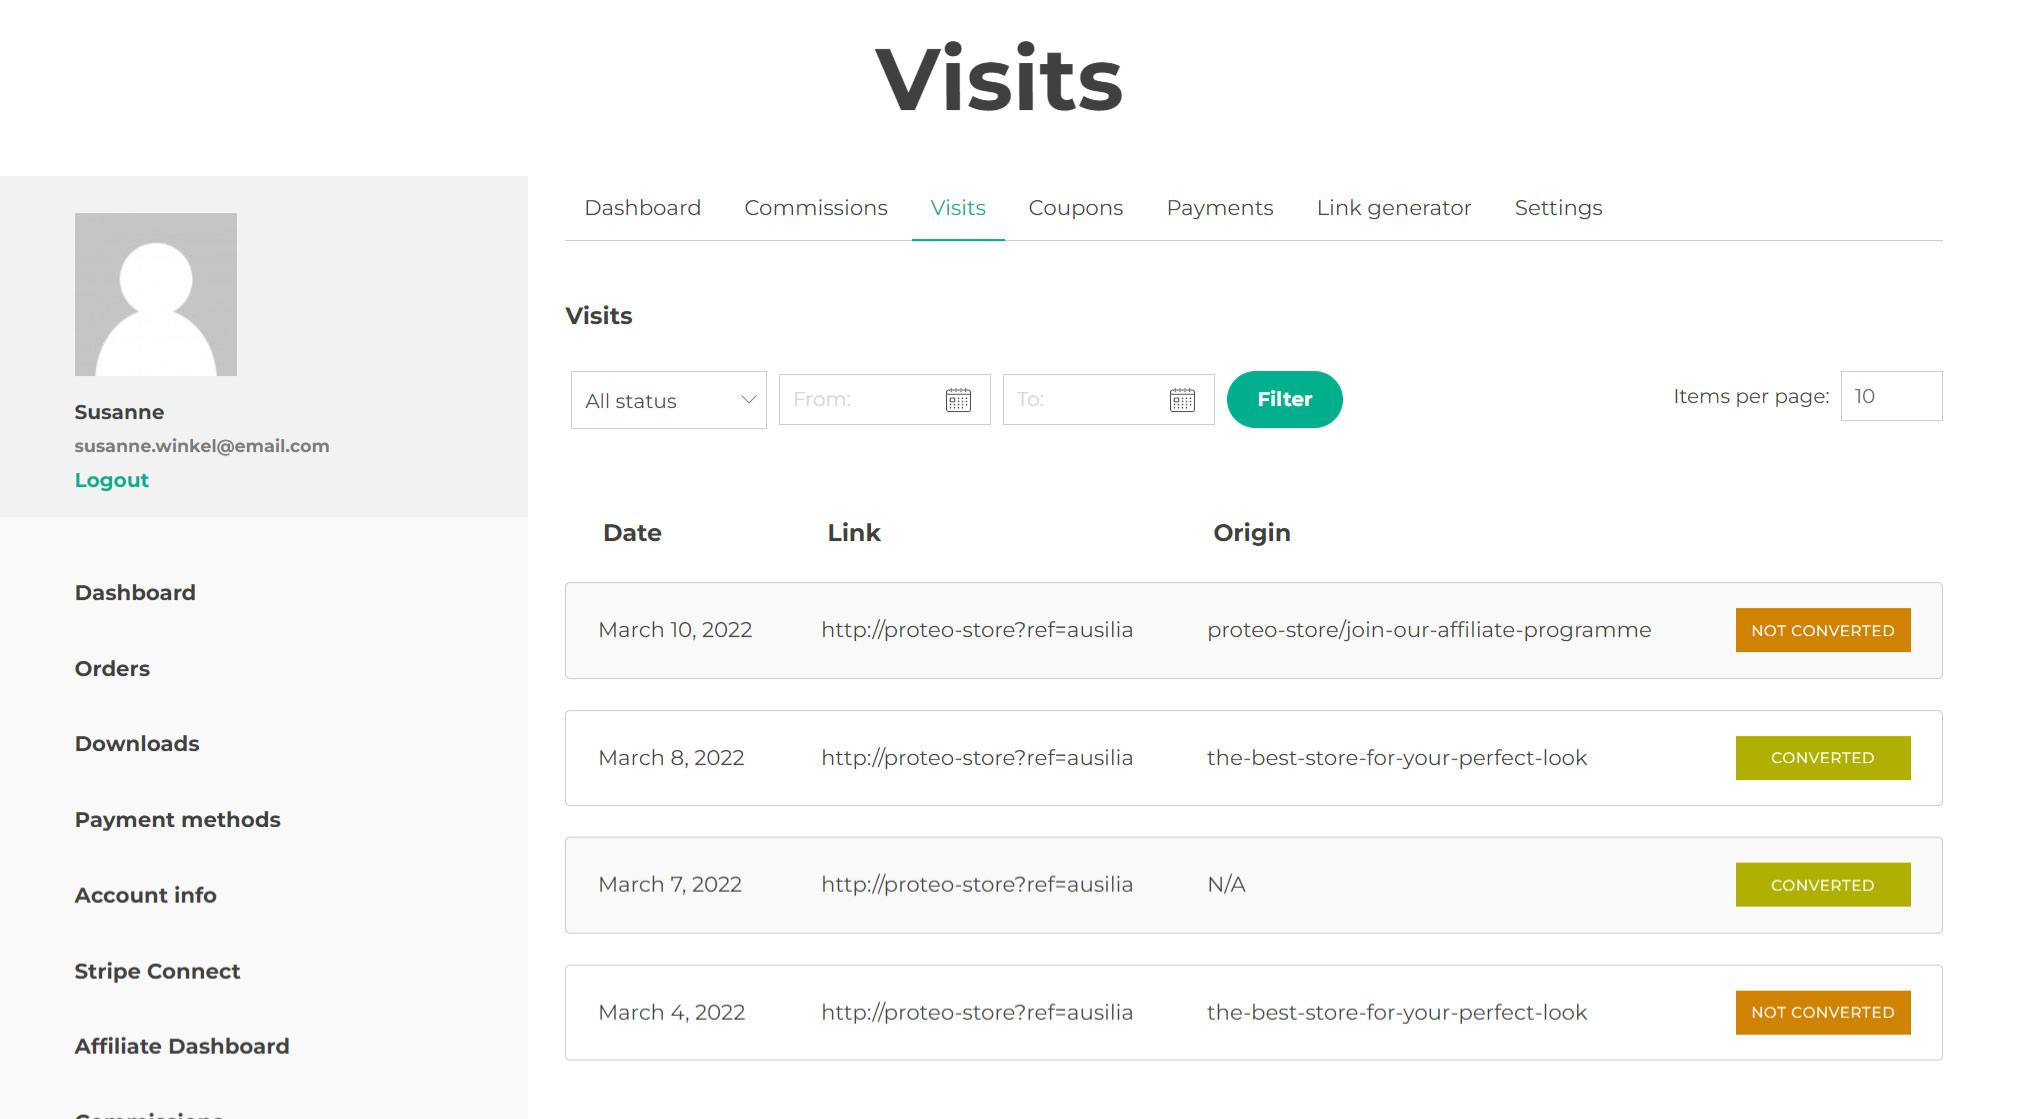
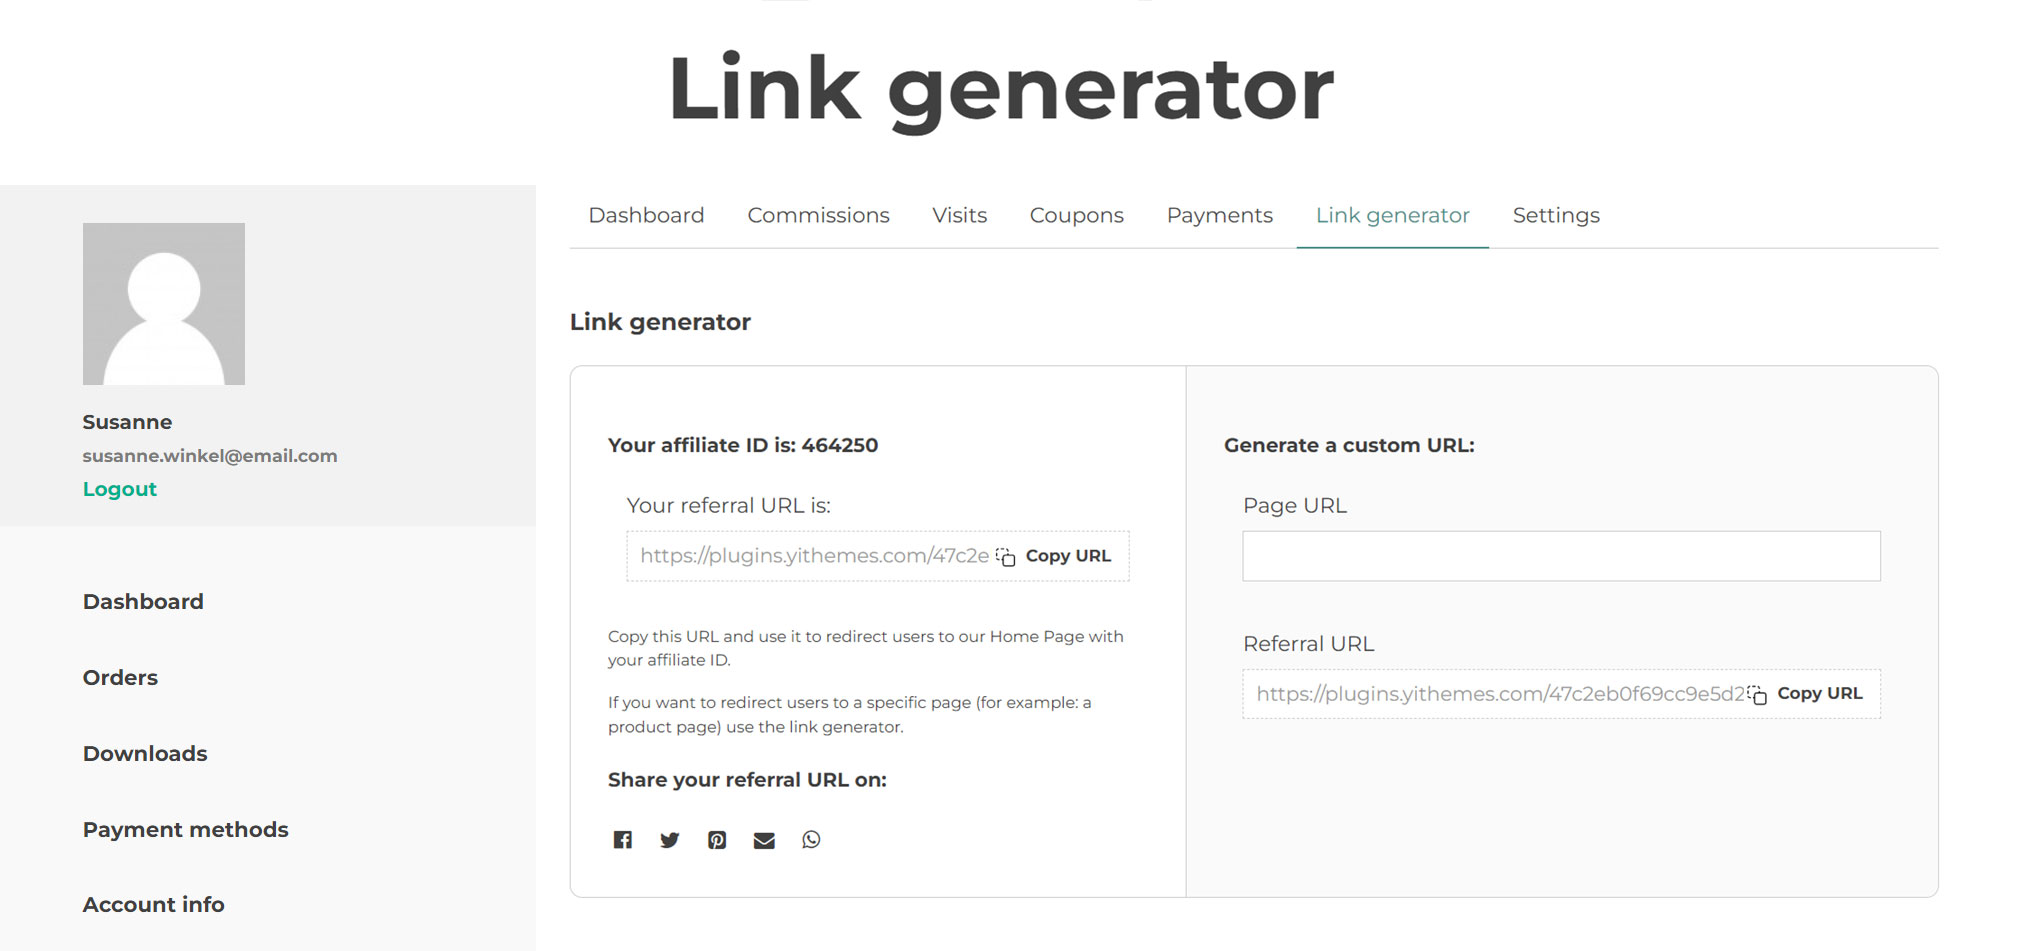
Link generator
This is where the affiliates can find their affiliate ID or token, their referral link and where they can also generate direct links with their referral ID to specific pages of your site.
Not only is it possible to copy the link and embed it on any page they wish, but it is also possible to enable the social sharing icons, so they can share the link in just a few clicks. To learn more about how to enable the social sharing options, please, visit this page.
Settings
From this tab, your affiliates will be able to adjust their profile settings.
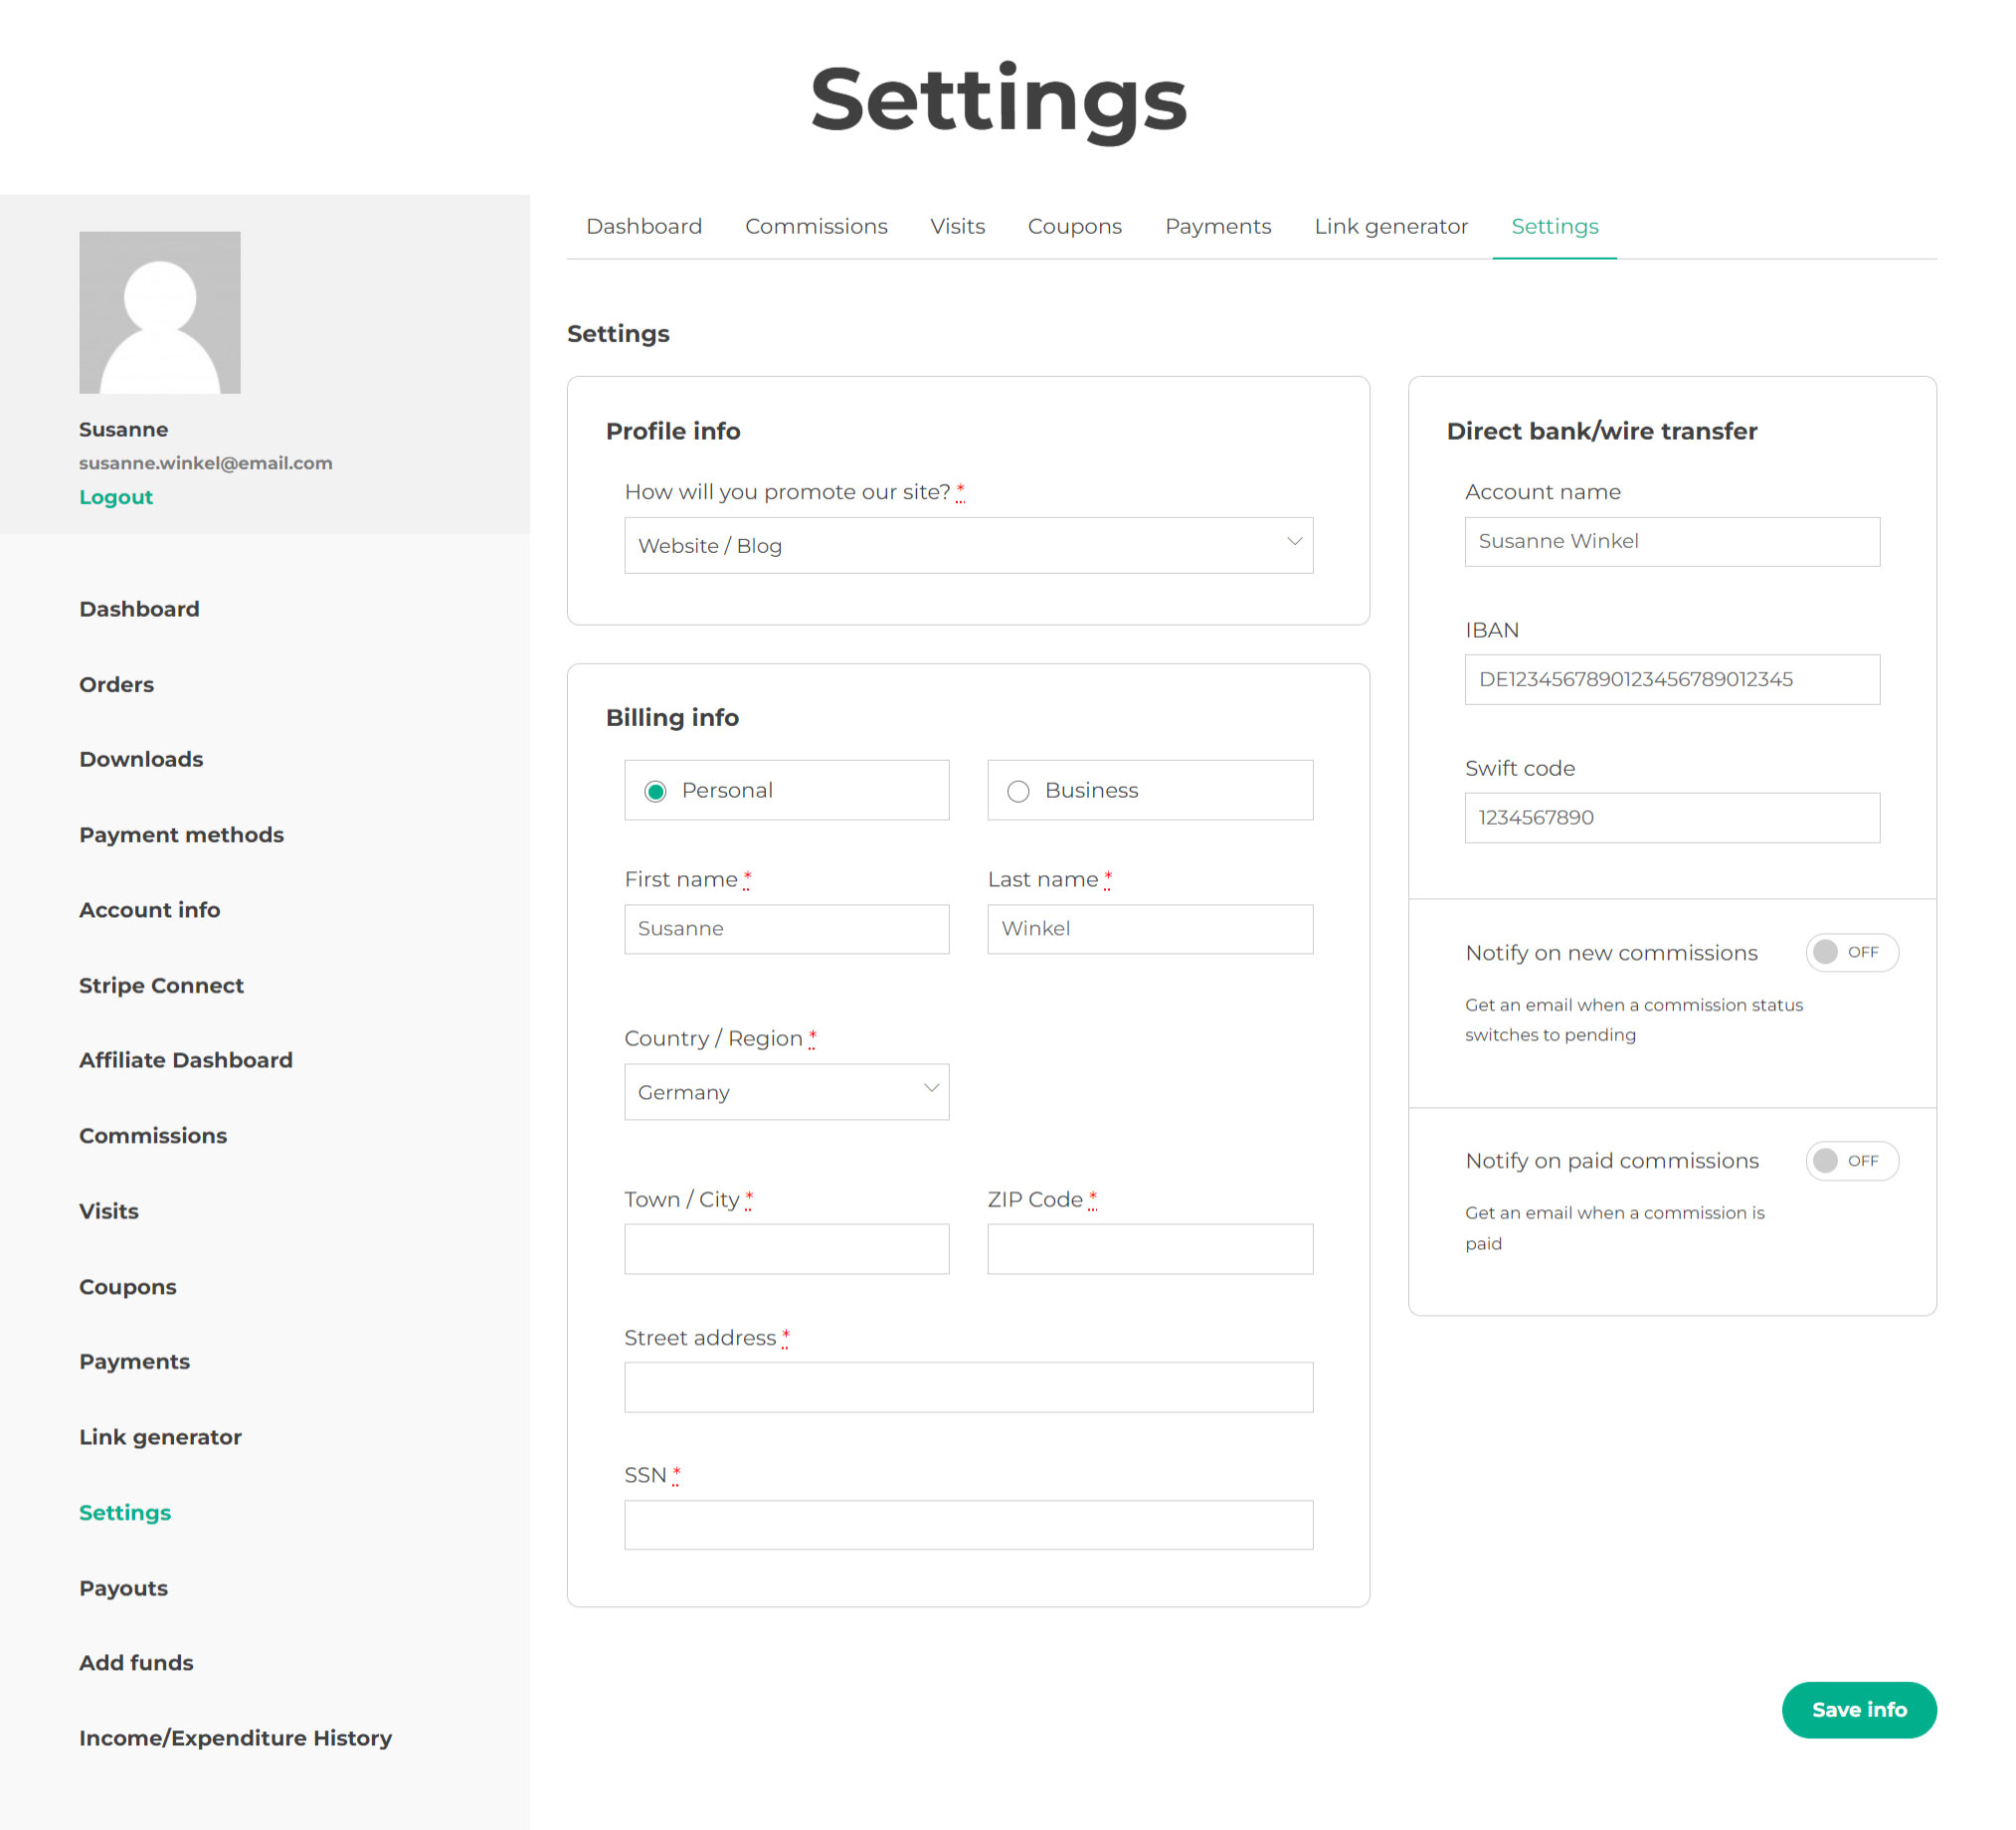
Details for Profile and Billing
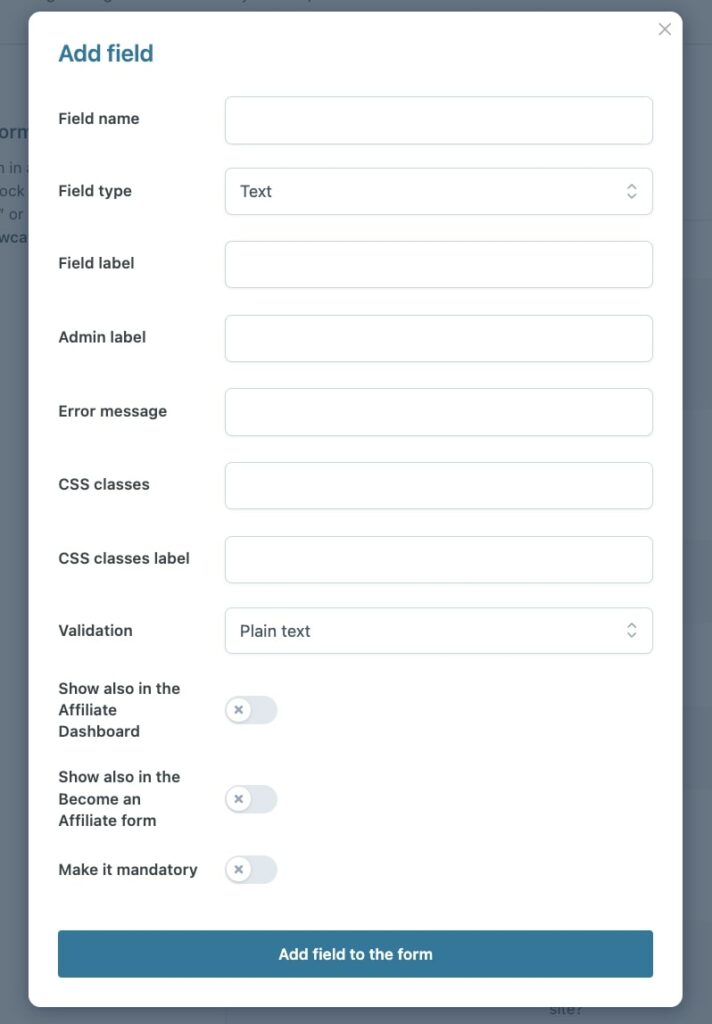
In the first section “Profile info” they will find the affiliate registration fields that you’ve enabled to show also in the Affiliate dashboard. For more details, about how to display affiliate registration specific fields here, please, check this page.
Then, the billing info: these will be used for the automatic generation of the invoice when a new payment of commissions earnings is submitted and if the invoice is set as required. For more details about how to request an invoice and the automatic generation, please, see this page (Let users request a payment).
In the box on the right, the affiliates will be able to enter their payment details for each enabled gateway. For more details about the available payment gateways, please, visit this page.
Finally, from the same box, the affiliates can enable or disable two notification emails:
- Notify on new commissions: if enabled, they will receive an email whenever a new commission is generated in an order made through a referral link.
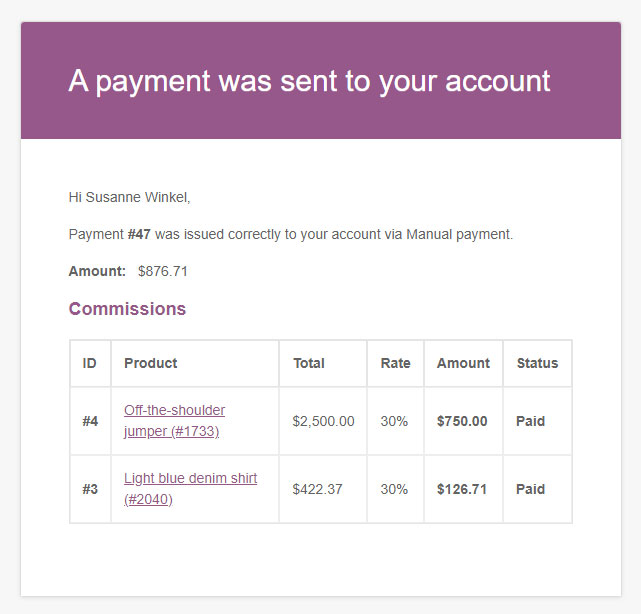
- Notify on paid commissions: if enabled, they will receive an email whenever a payment of their commissions is issued.

You can edit this email notification template from WooCommerce > Settings > Emails.